Top tips from the team...
All our products are lovingly hand-made in small batches to provide hours of fragrant bliss. To keep them working their best (and safest), follow my tips below to enjoy a purer scent experience.
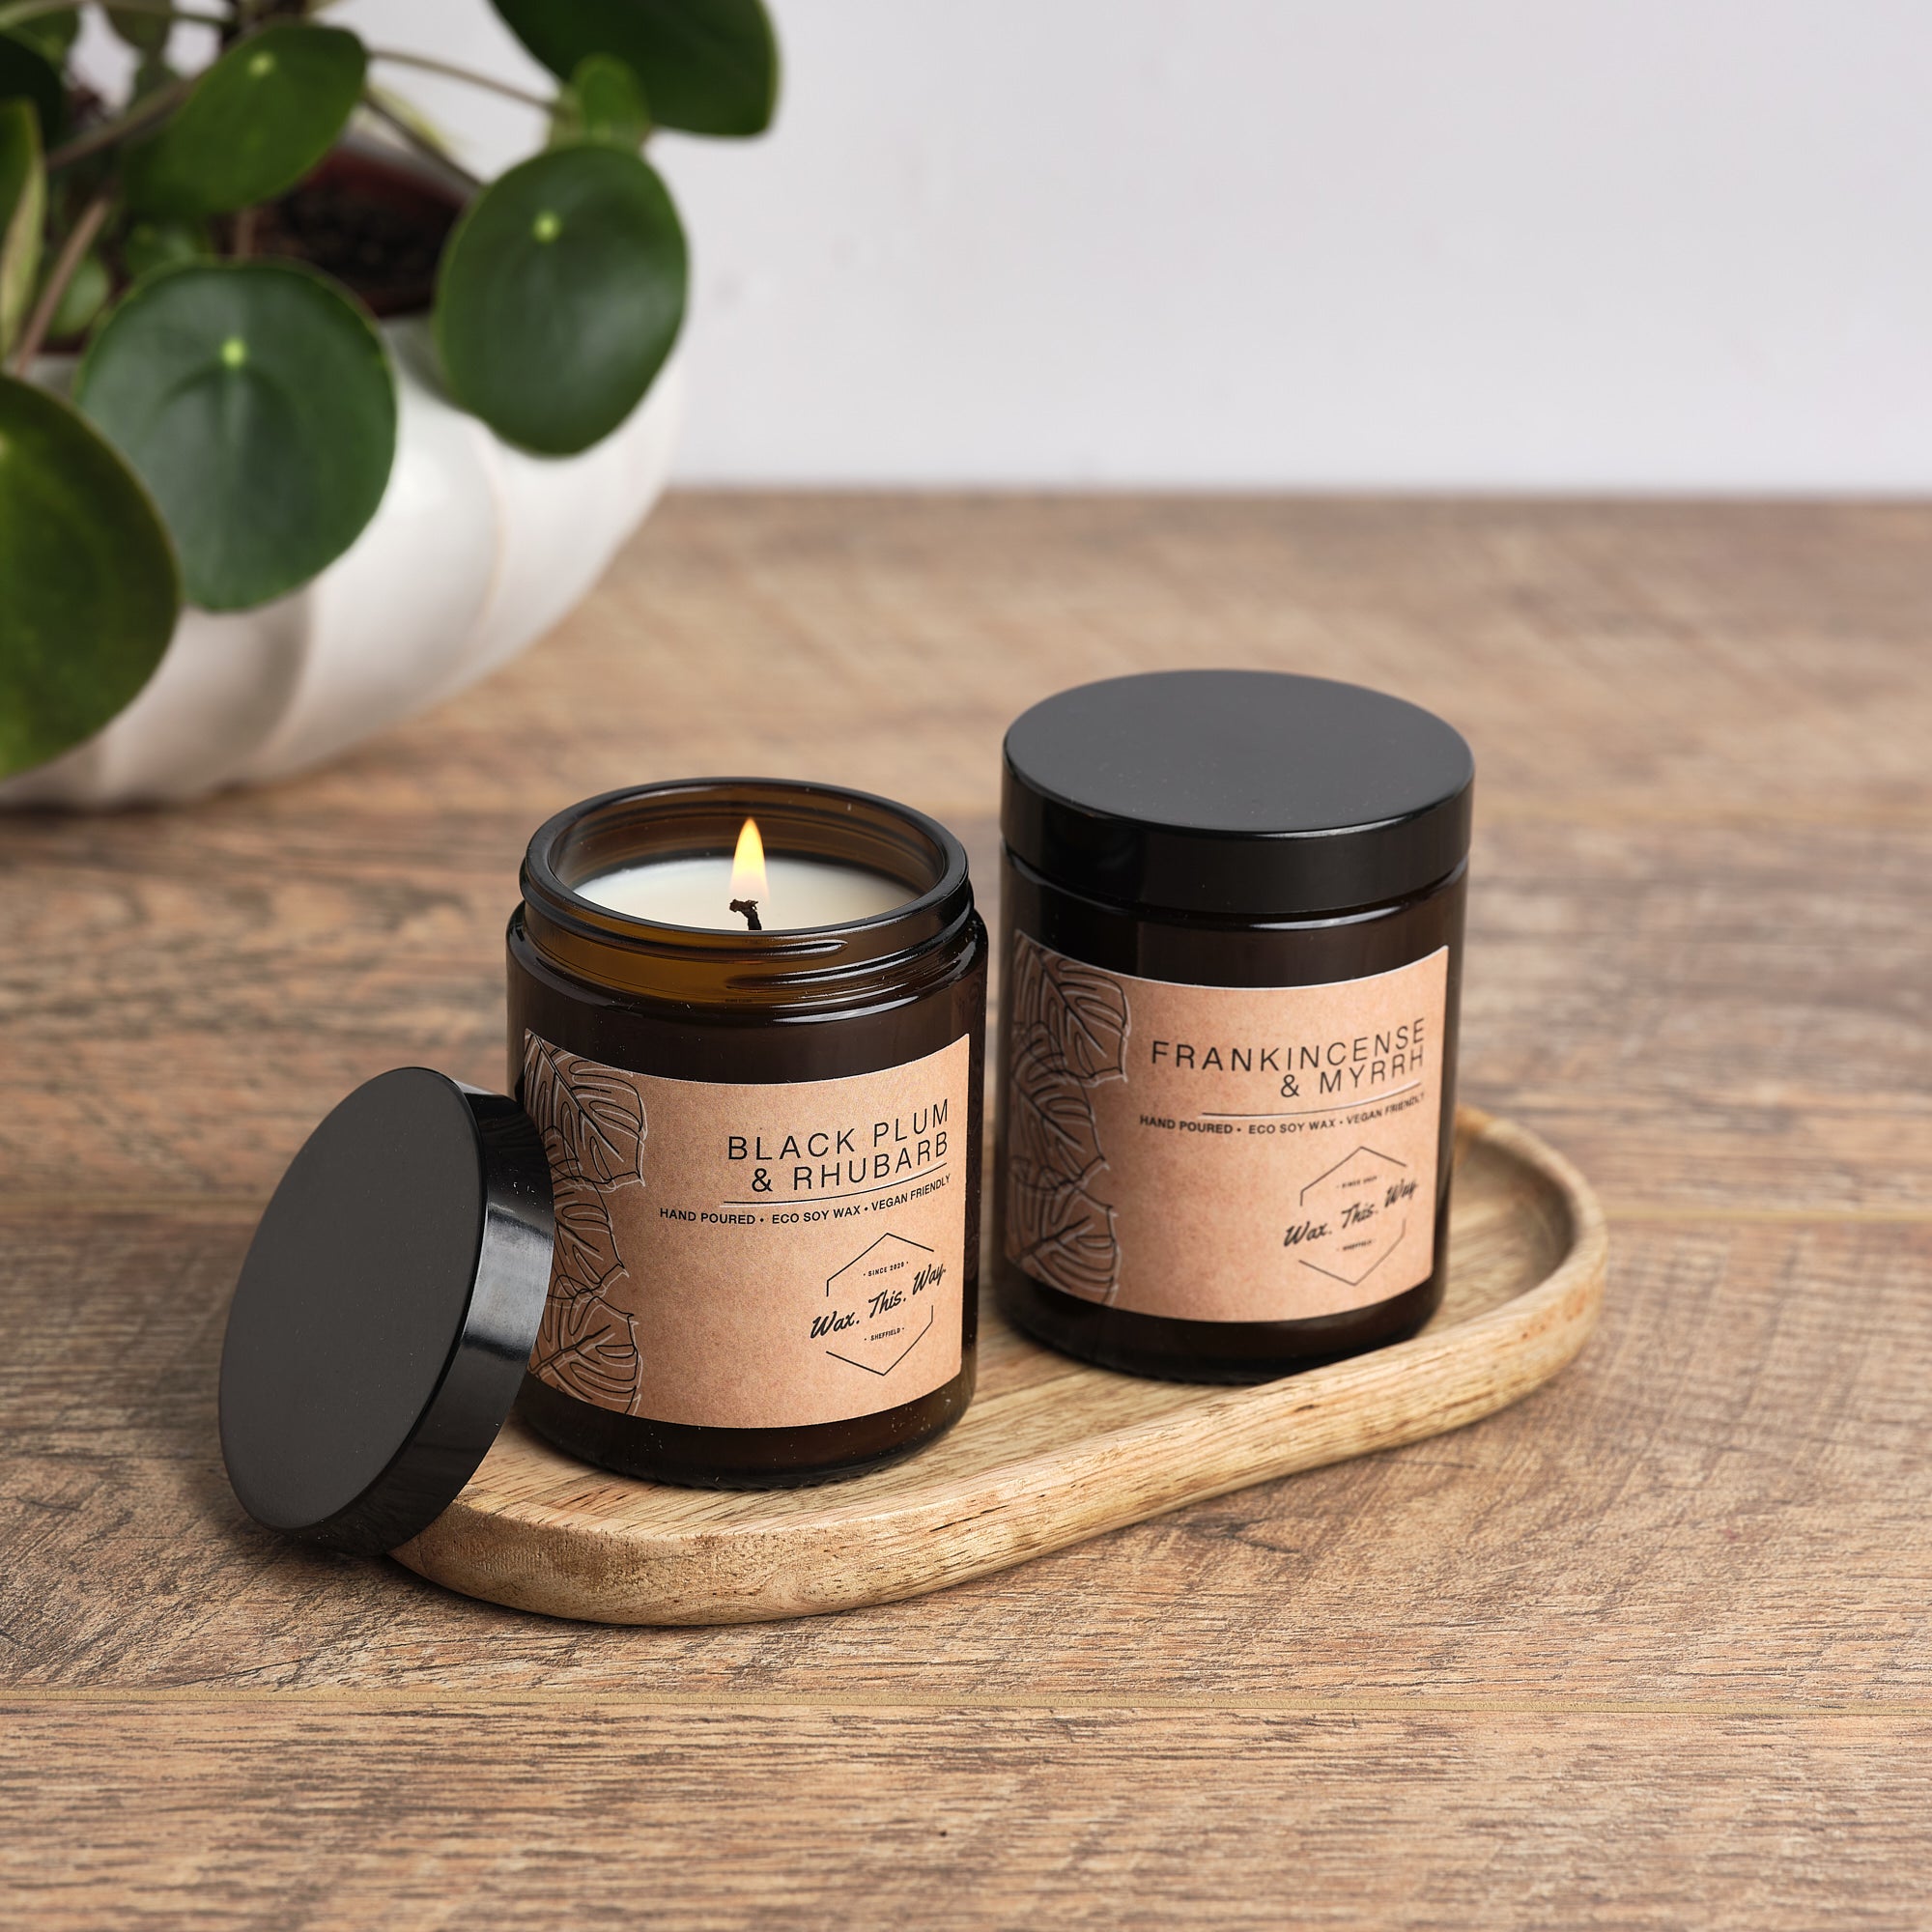
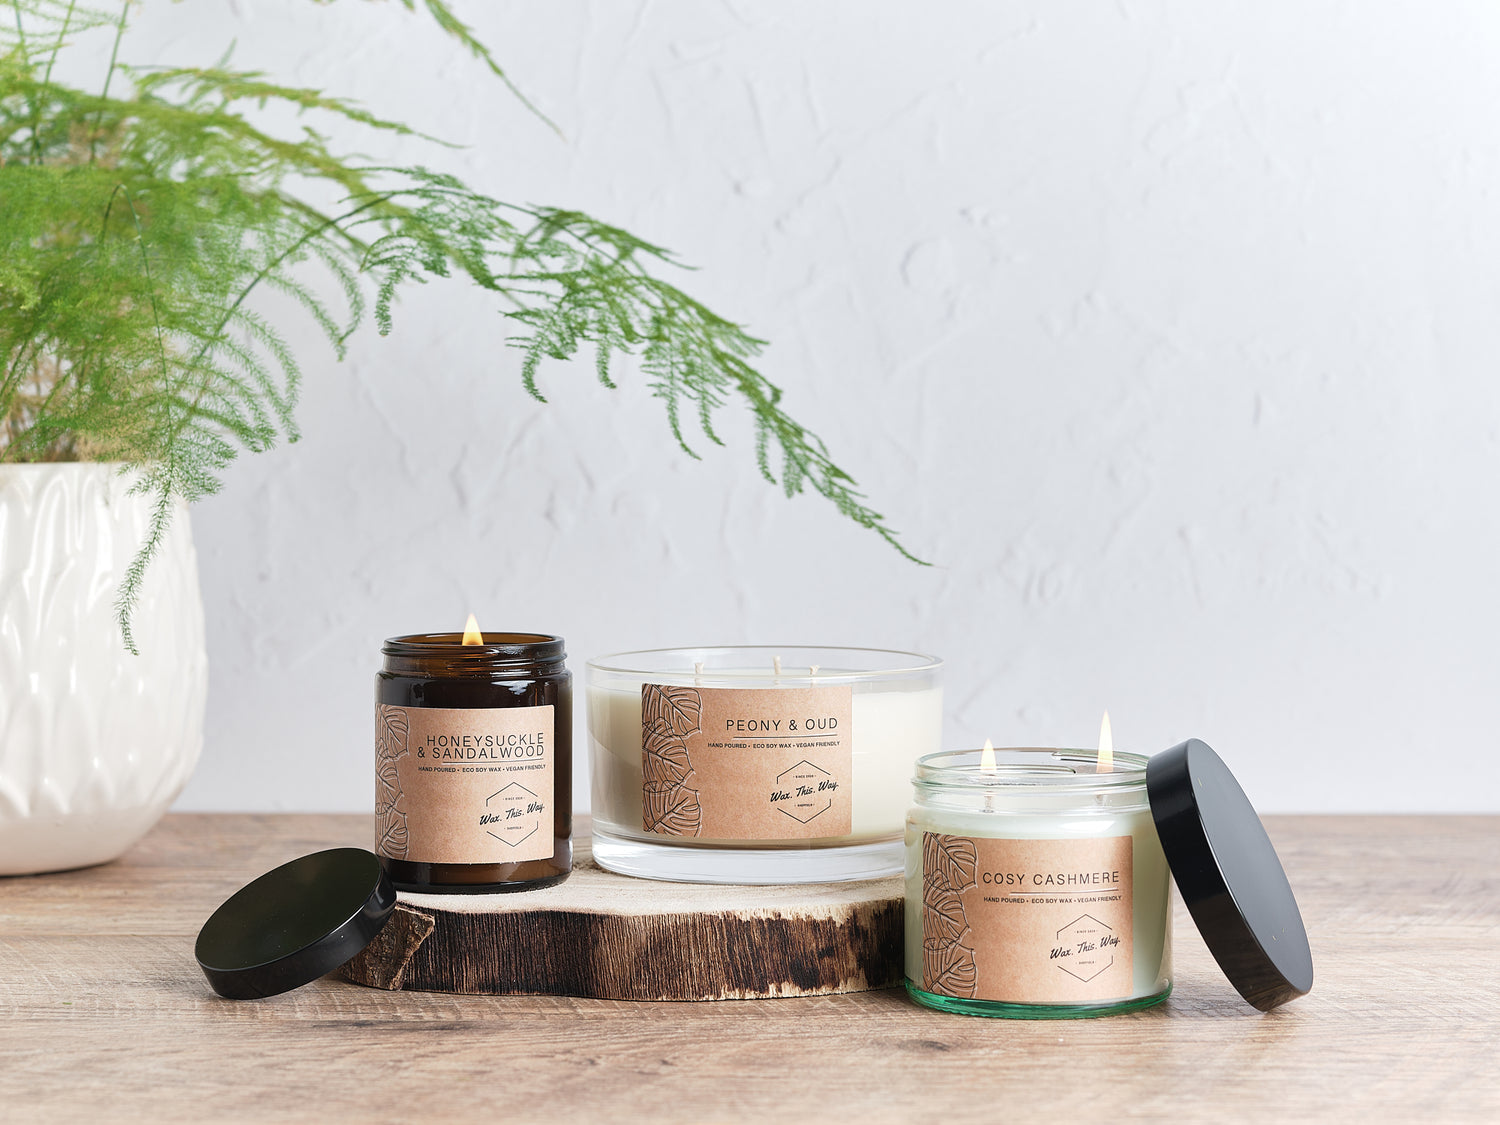
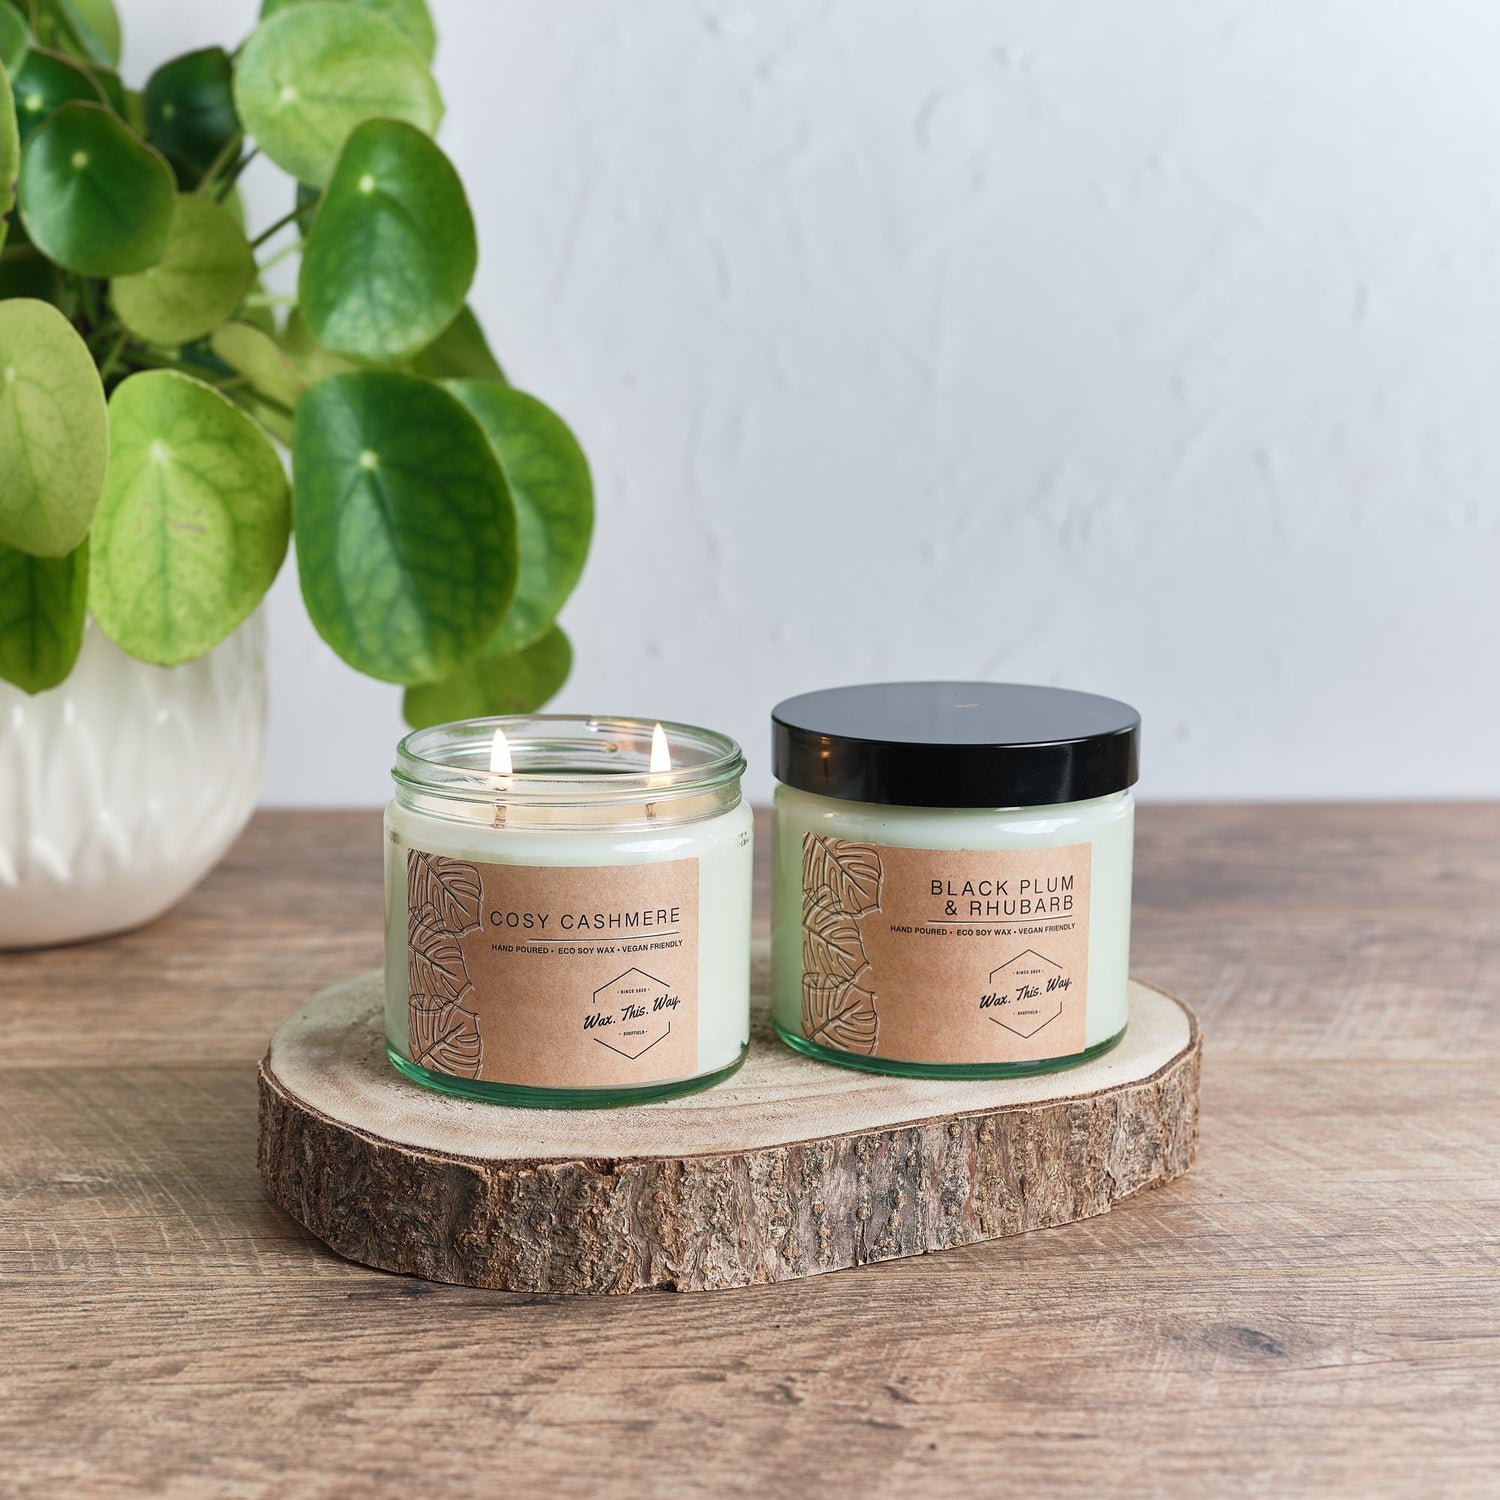
Candles
-
The first burn is the most important! So, you’ve just received your brand-new candle, and you can’t wait to light it; whatever you do, always keep it lit for around 4 hours during the first burn. This will allow the wax pool the time to burn more evenly across the candle's surface, reducing the risk that your candle will ‘tunnel’.
-
Trim your wick! Trimming the wick between uses not only prolongs the life of your candle but also stops it from getting too hot and prevents the wax pool from turning that awful black soot colour. Get yourself some wick trimmers, or use some scissors and cut off those ‘black mushrooms’ at the end of your wicks before relighting your candle. Cutting these off means they won’t fall into the wax pool (which makes your candle go black) and allows the wax to melt more evenly.
-
Always burn candles within sight. Keep away from direct sunlight, heat sources and drafts.
Do not burn candles for more than 4 hours at a time.
Make sure you stop burning your candle when 1cm of wax remains at the bottom, keeping an eye on a burning candle when the wax is low.
Heat may cause damage to surfaces; we recommend using a heat-proof coaster.
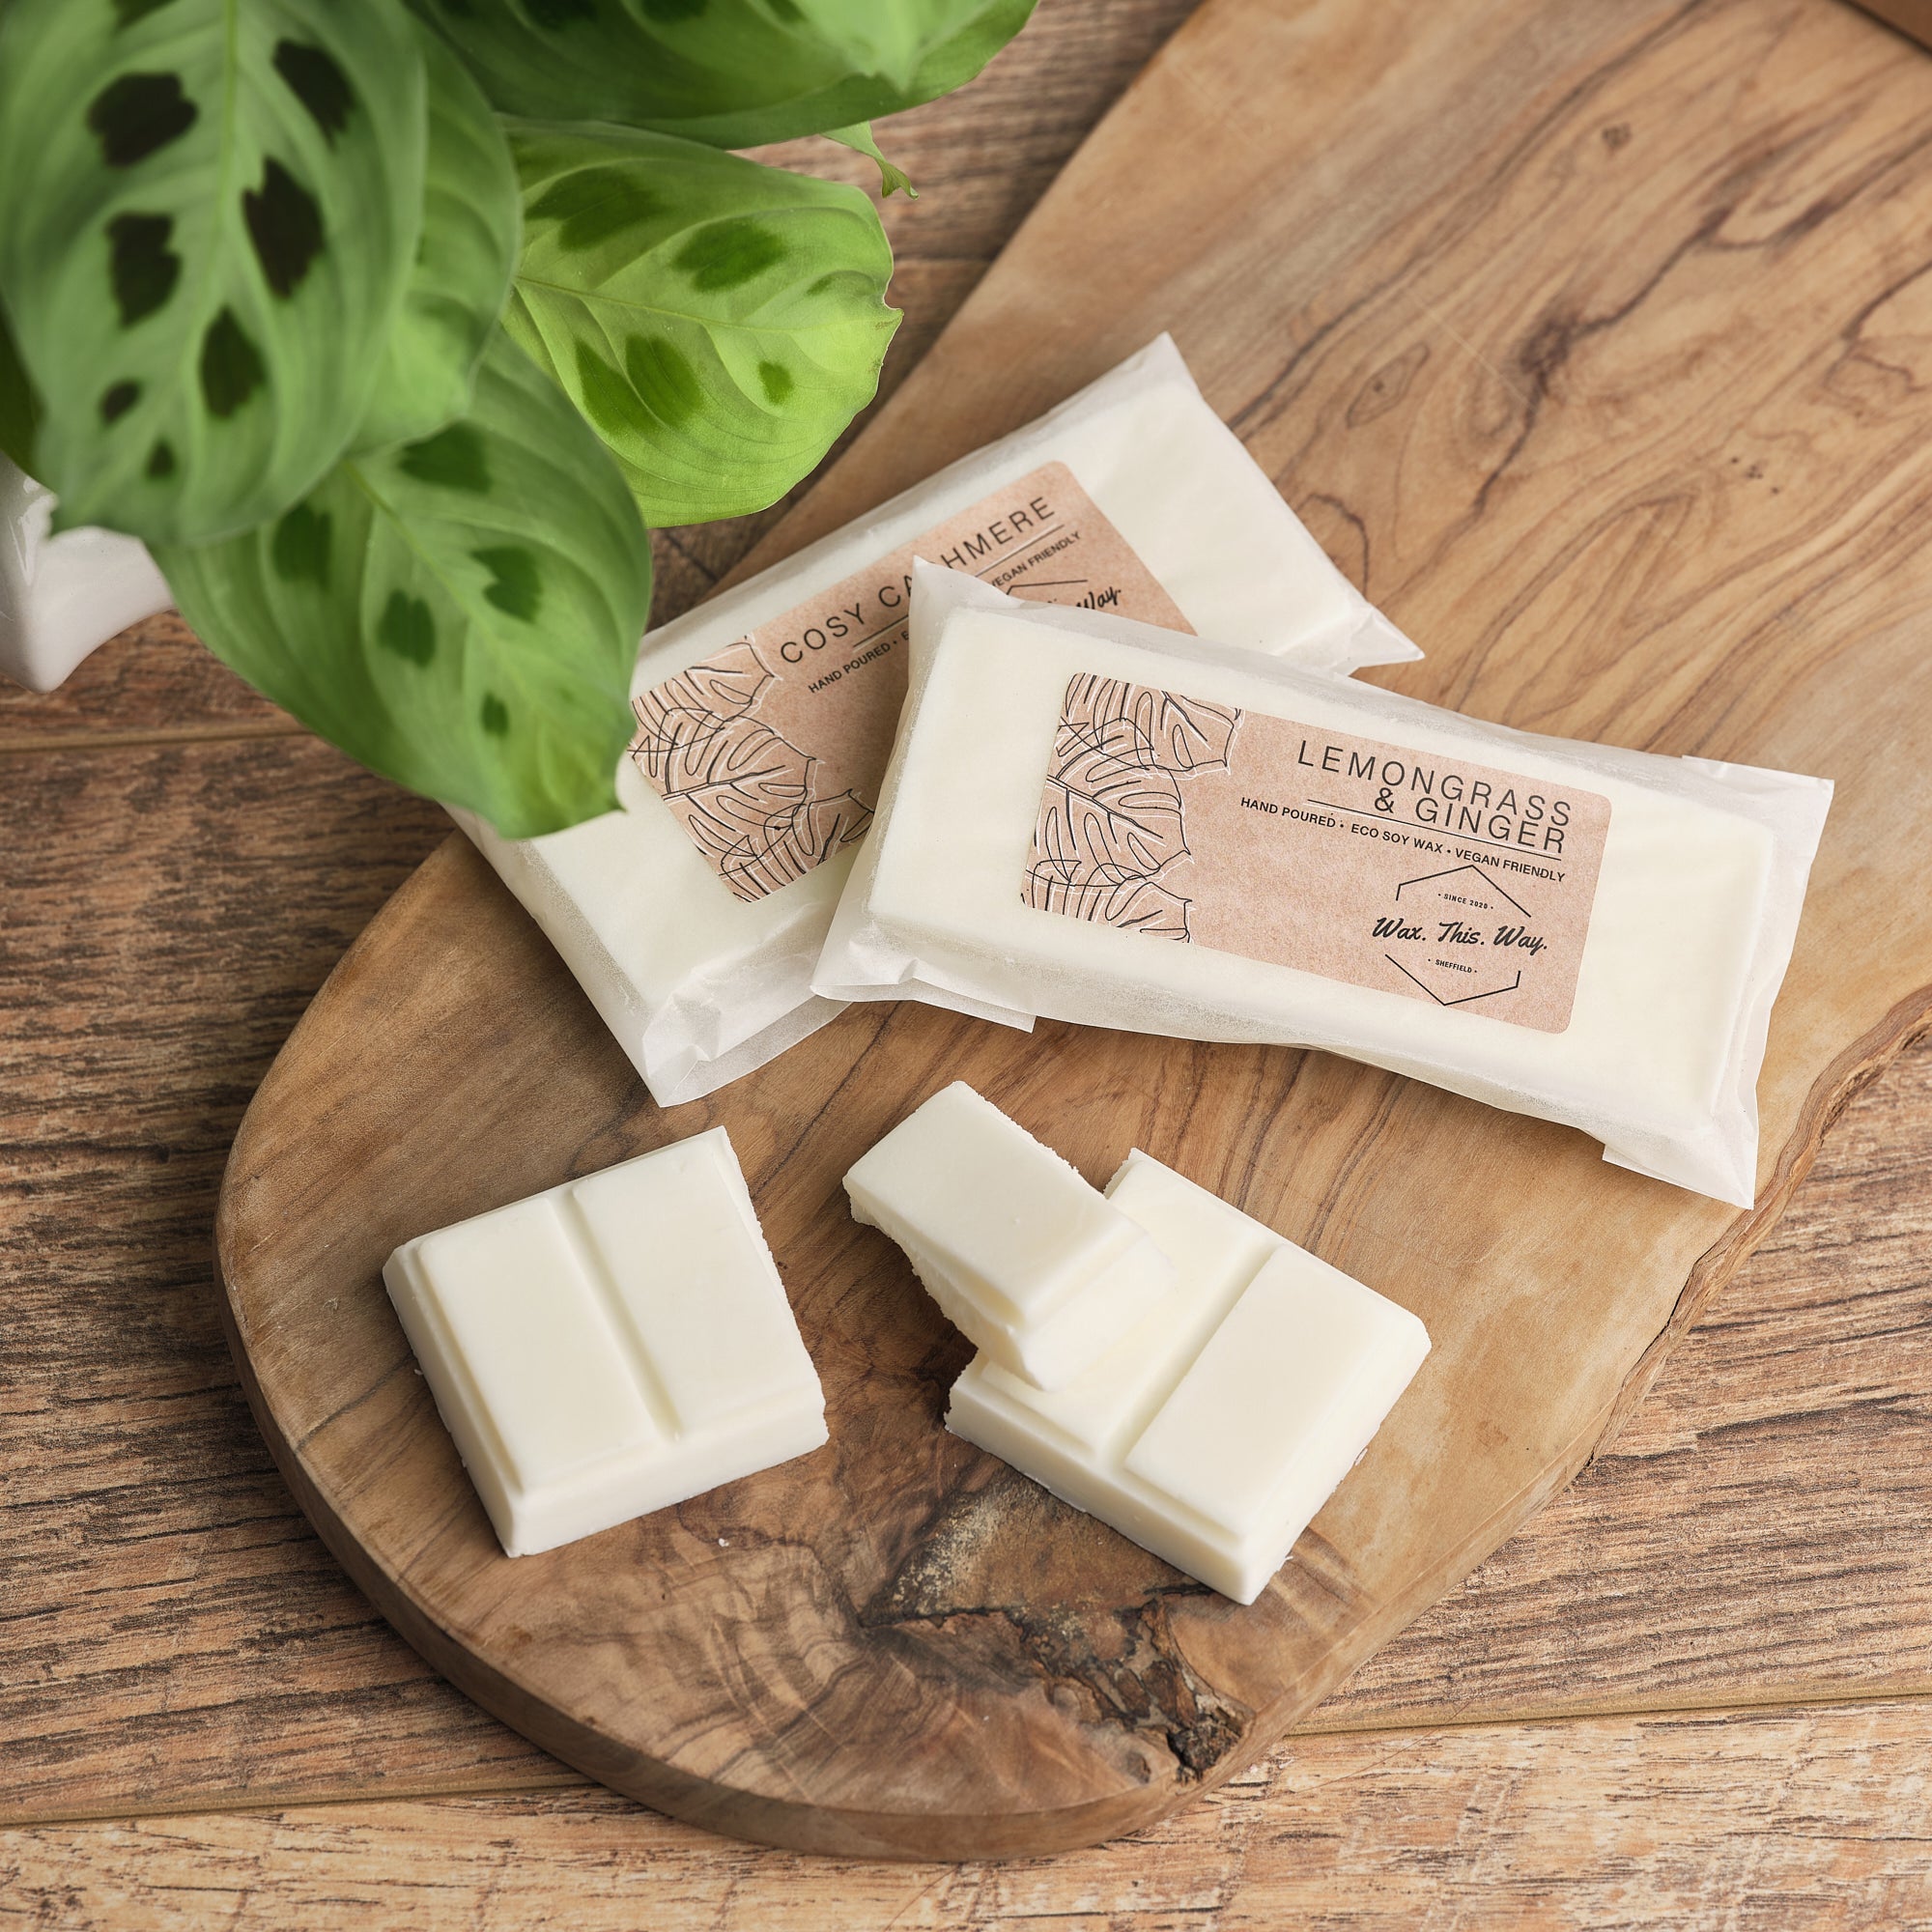
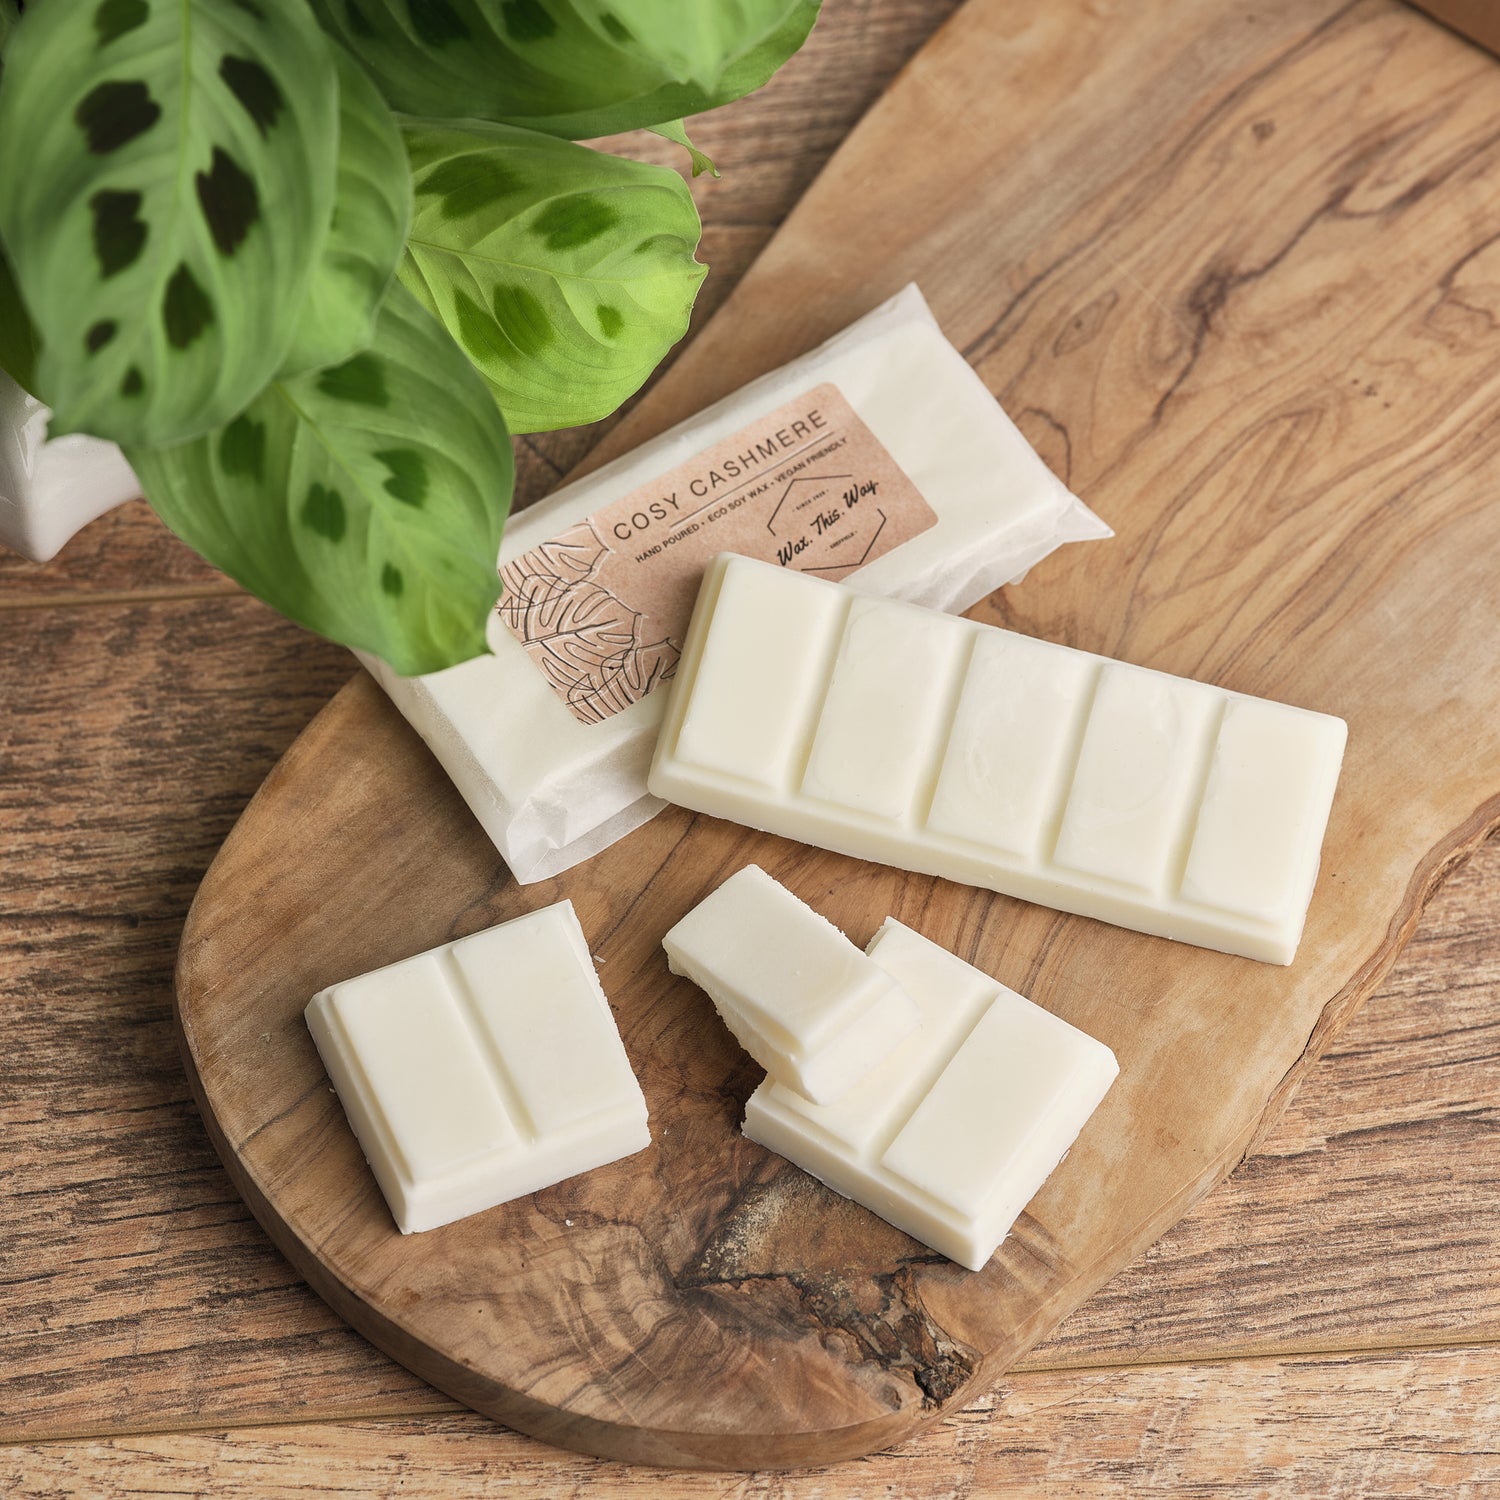
Wax Melts
-
The process of how a wax melt works is quite simple: the heat from the warmer melts the wax, which in turn releases the fragrance into the room.
Unlike a candle, the melted wax will not evaporate. The flame never comes into direct contact with the wax melt; it is, instead, warmed up.
-
After a few burns, you will notice that the scent has changed, signalling that the wax is ready to be replaced. When this happens, simply clean out the old wax and replace it with a new wax melt.
Top tip: If you pop a lit tealight underneath the old wax and wait around 30 seconds for the wax to warm up, it should dislodge from your burner much easier.
-
Use unscented 4-hour tealights.
Smoke may appear from the wax pool; don't panic; this is the fragrance oil.
Do not mix wax melts with water.
Do not pour the old wax down the sink.
Heat may cause damage to surfaces; we recommend using a heat-proof coaster.
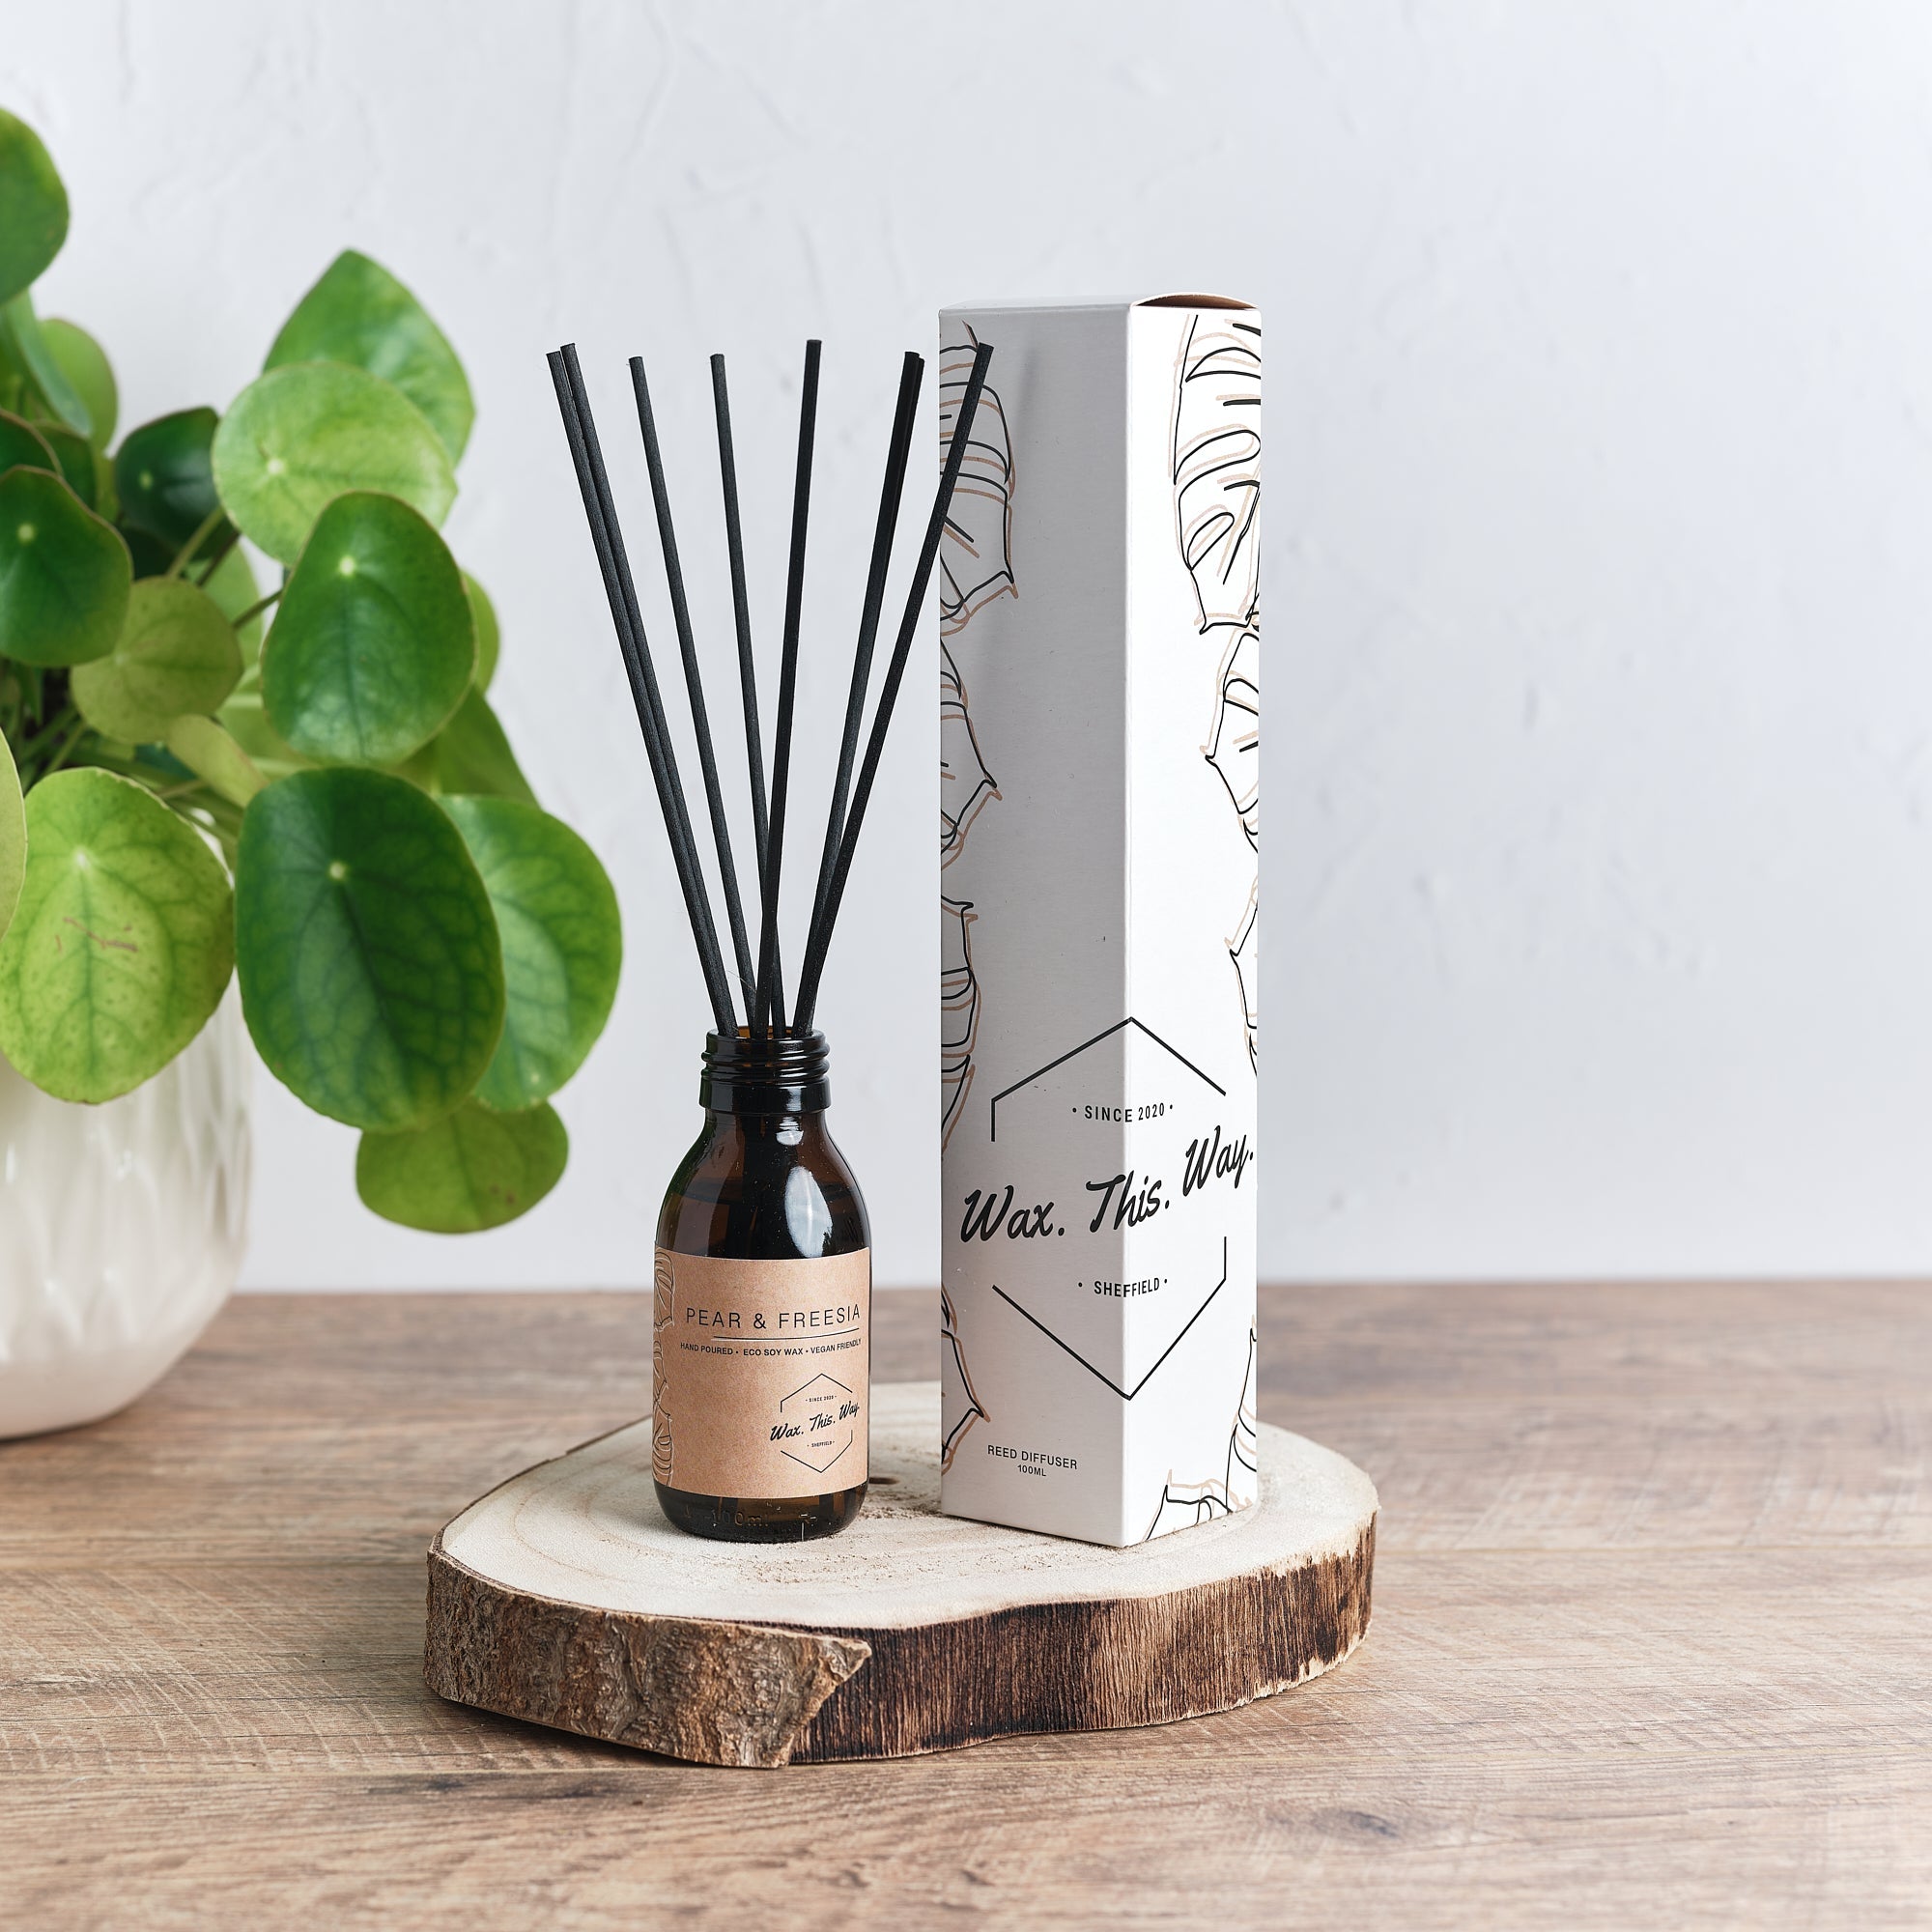
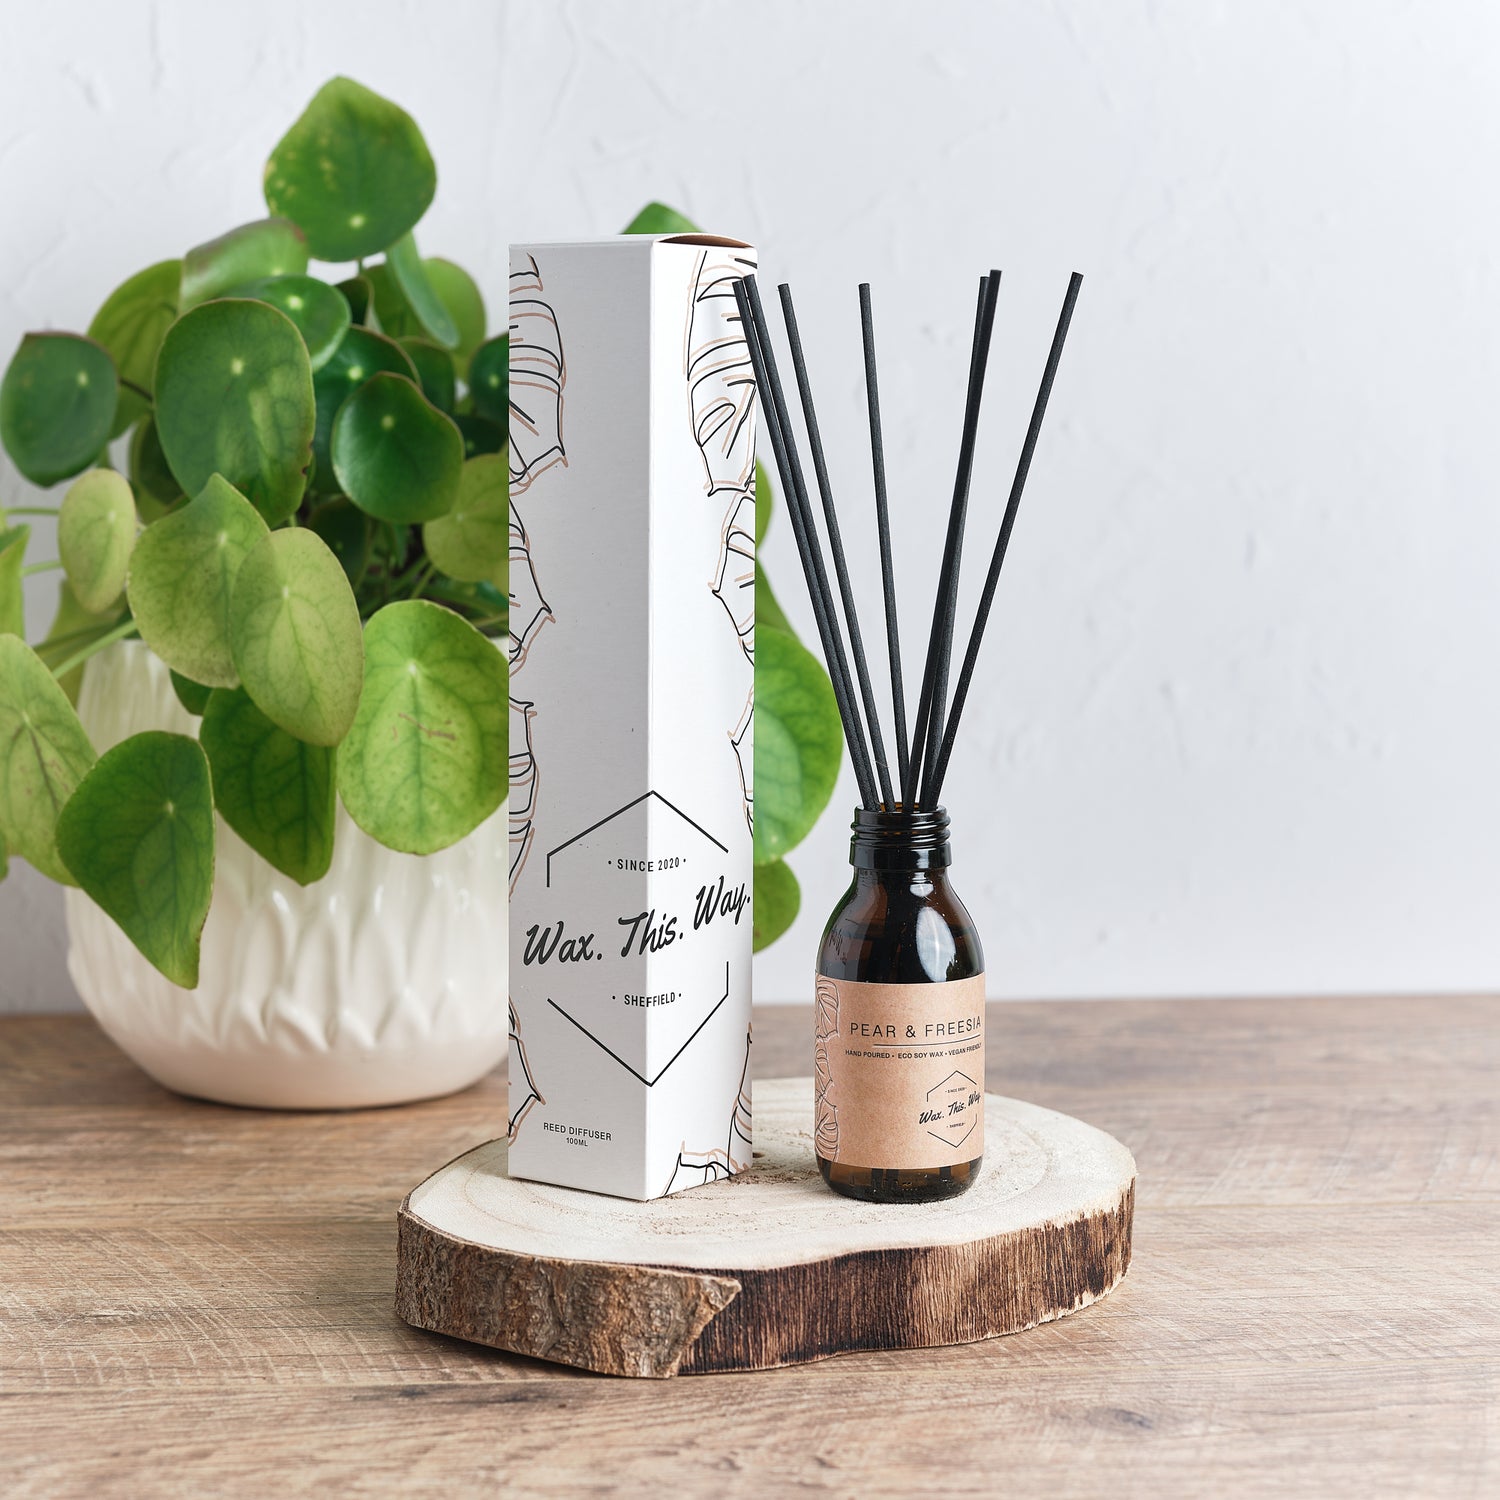
Reed Diffusers
-
Reed diffusers allow the aroma to diffuse continuously into the air throughout an entire room or area; they usually last longer and don't require an open flame.
Location is such an important factor when using reed diffusers. Try to put them somewhere that people will walk past, as the air movement will increase the scent throw.
-
Place your reeds into the bottle so that the bottom of the sticks are submerged in the fragrance oil. Give your reeds a few minutes to absorb the oil, then carefully flip them so that the dry end of the stick is in the bottle and the saturated end is in the air. Spread your reeds out as much as possible to let air circulate between them. Allow up to 24 hours for the fragrance to fully diffuse.
-
Flip the reeds every two weeks to keep the scent strong.
Reed diffusers are highly flammable, keep away from heat sources and open flames.
Avoid contact with skin, children and pets.
Spillages may cause damage; we recommend using a coaster.
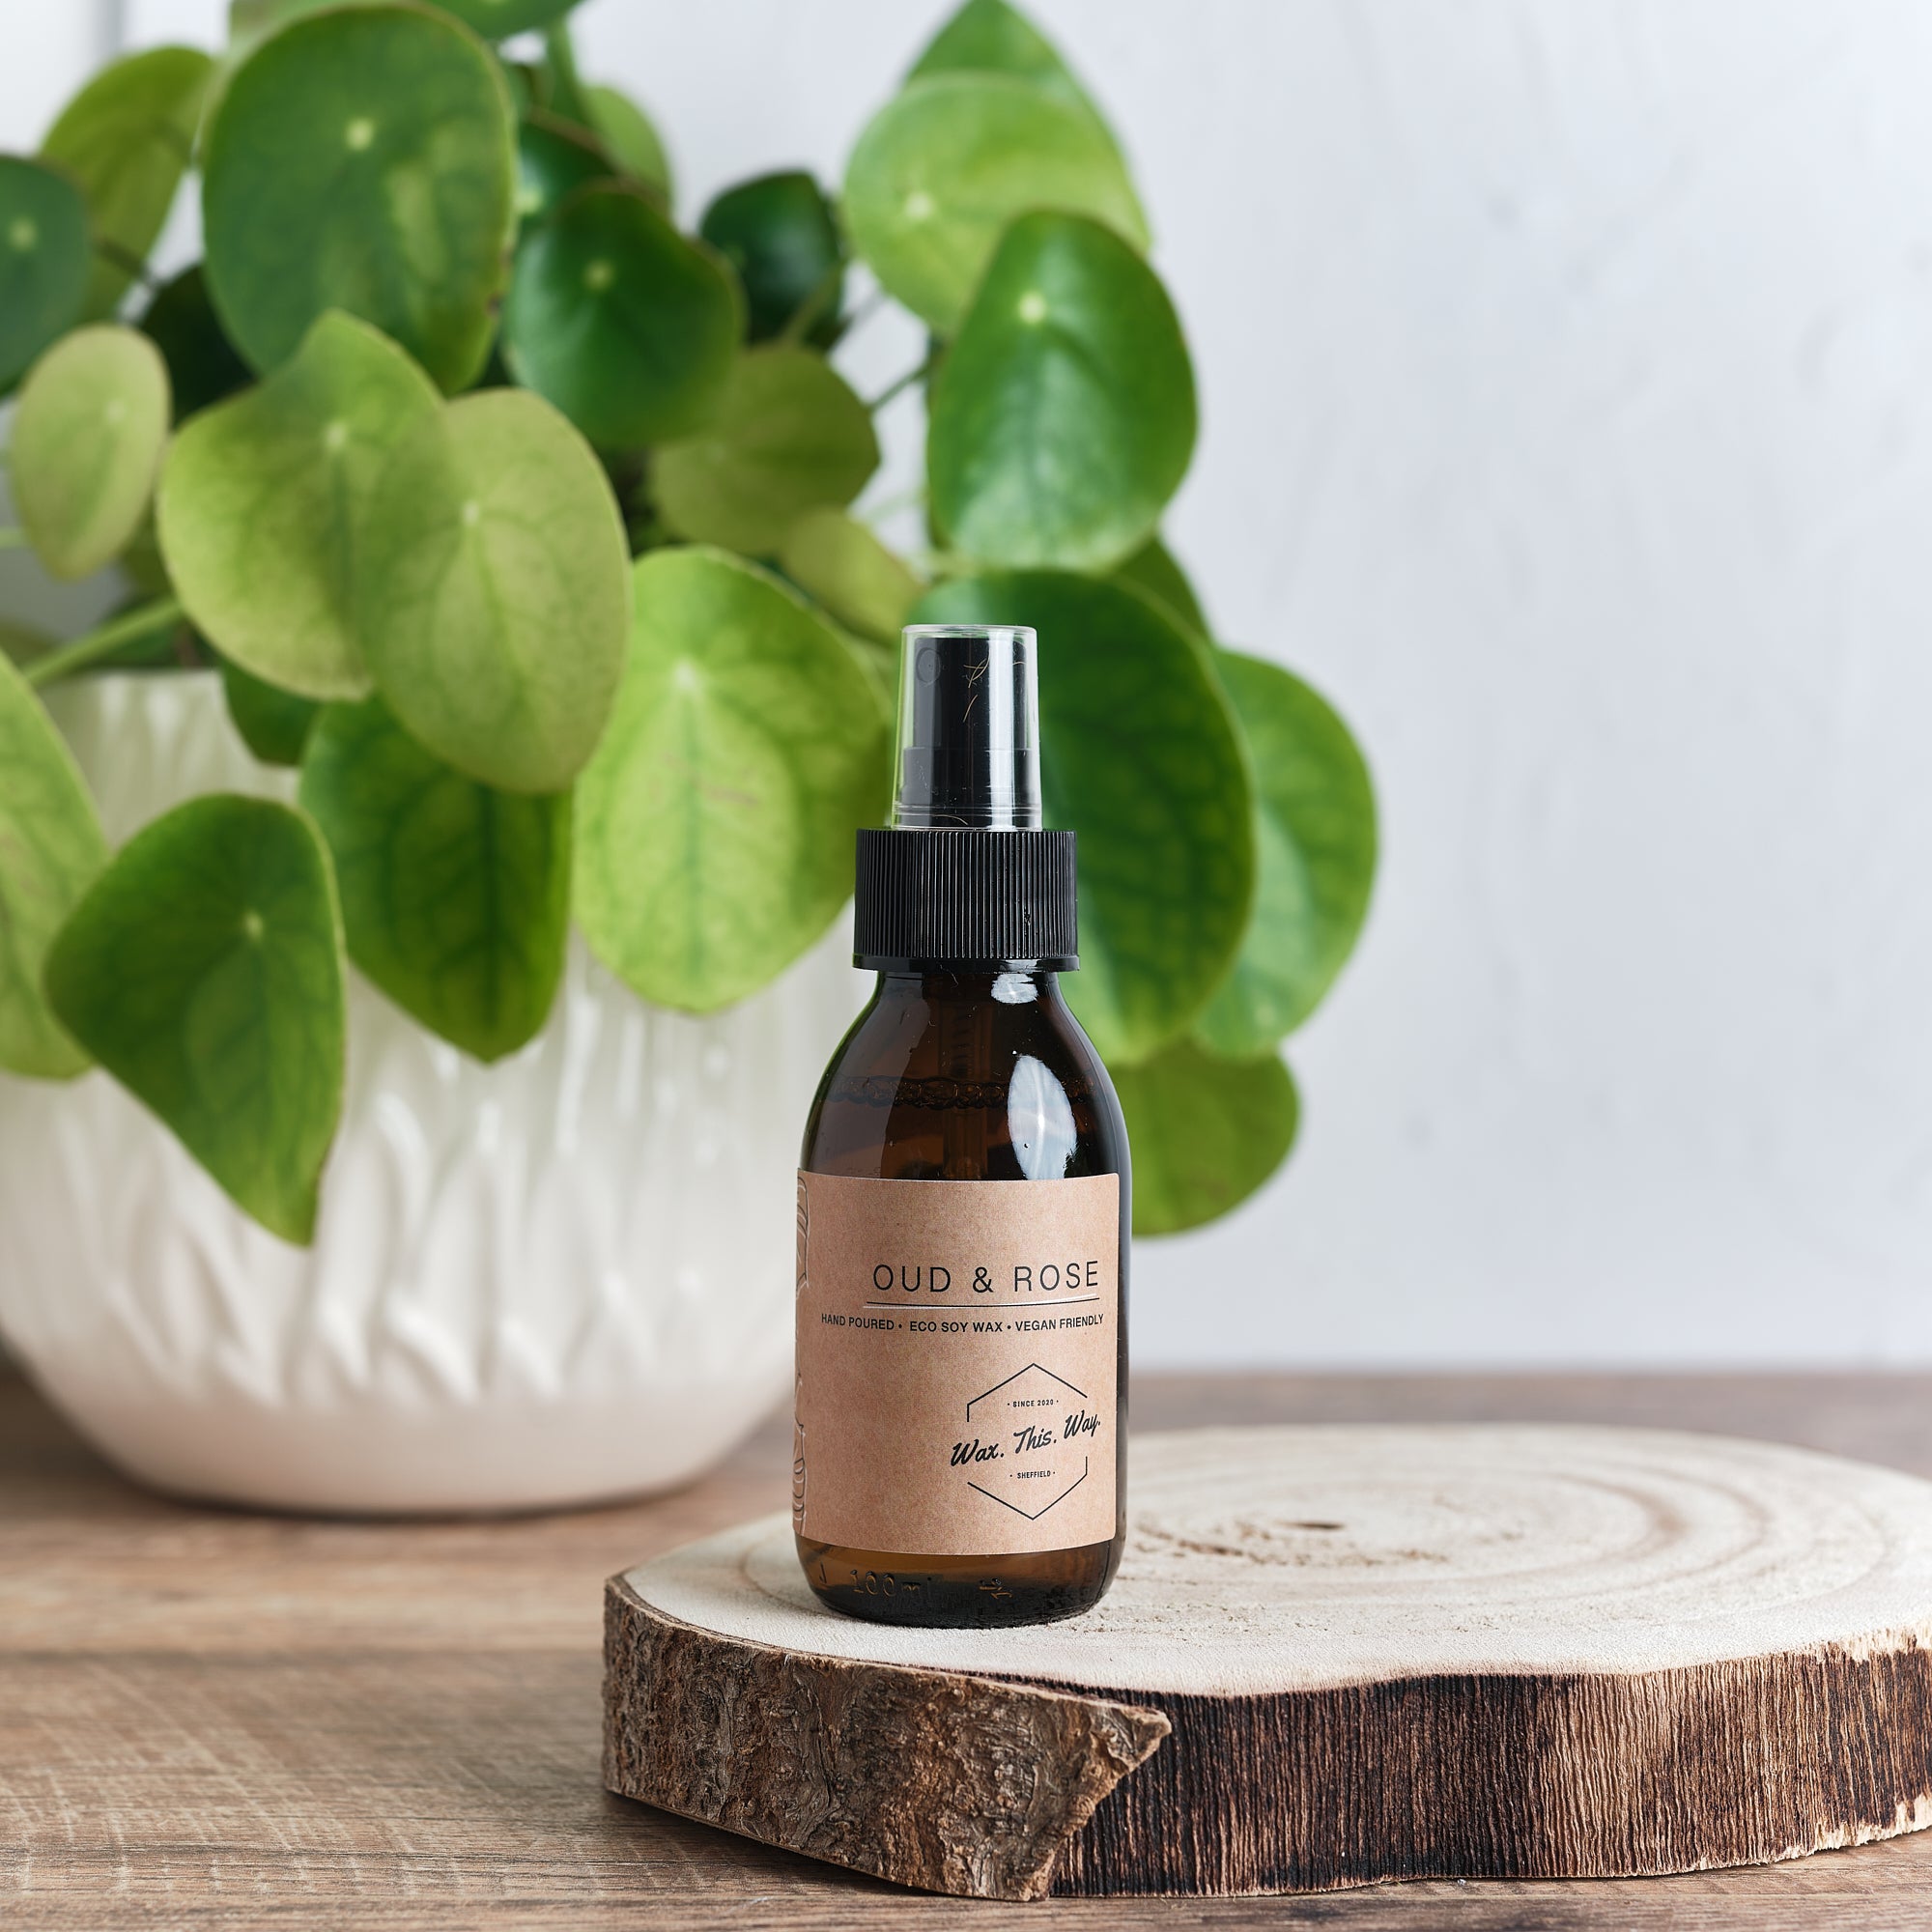
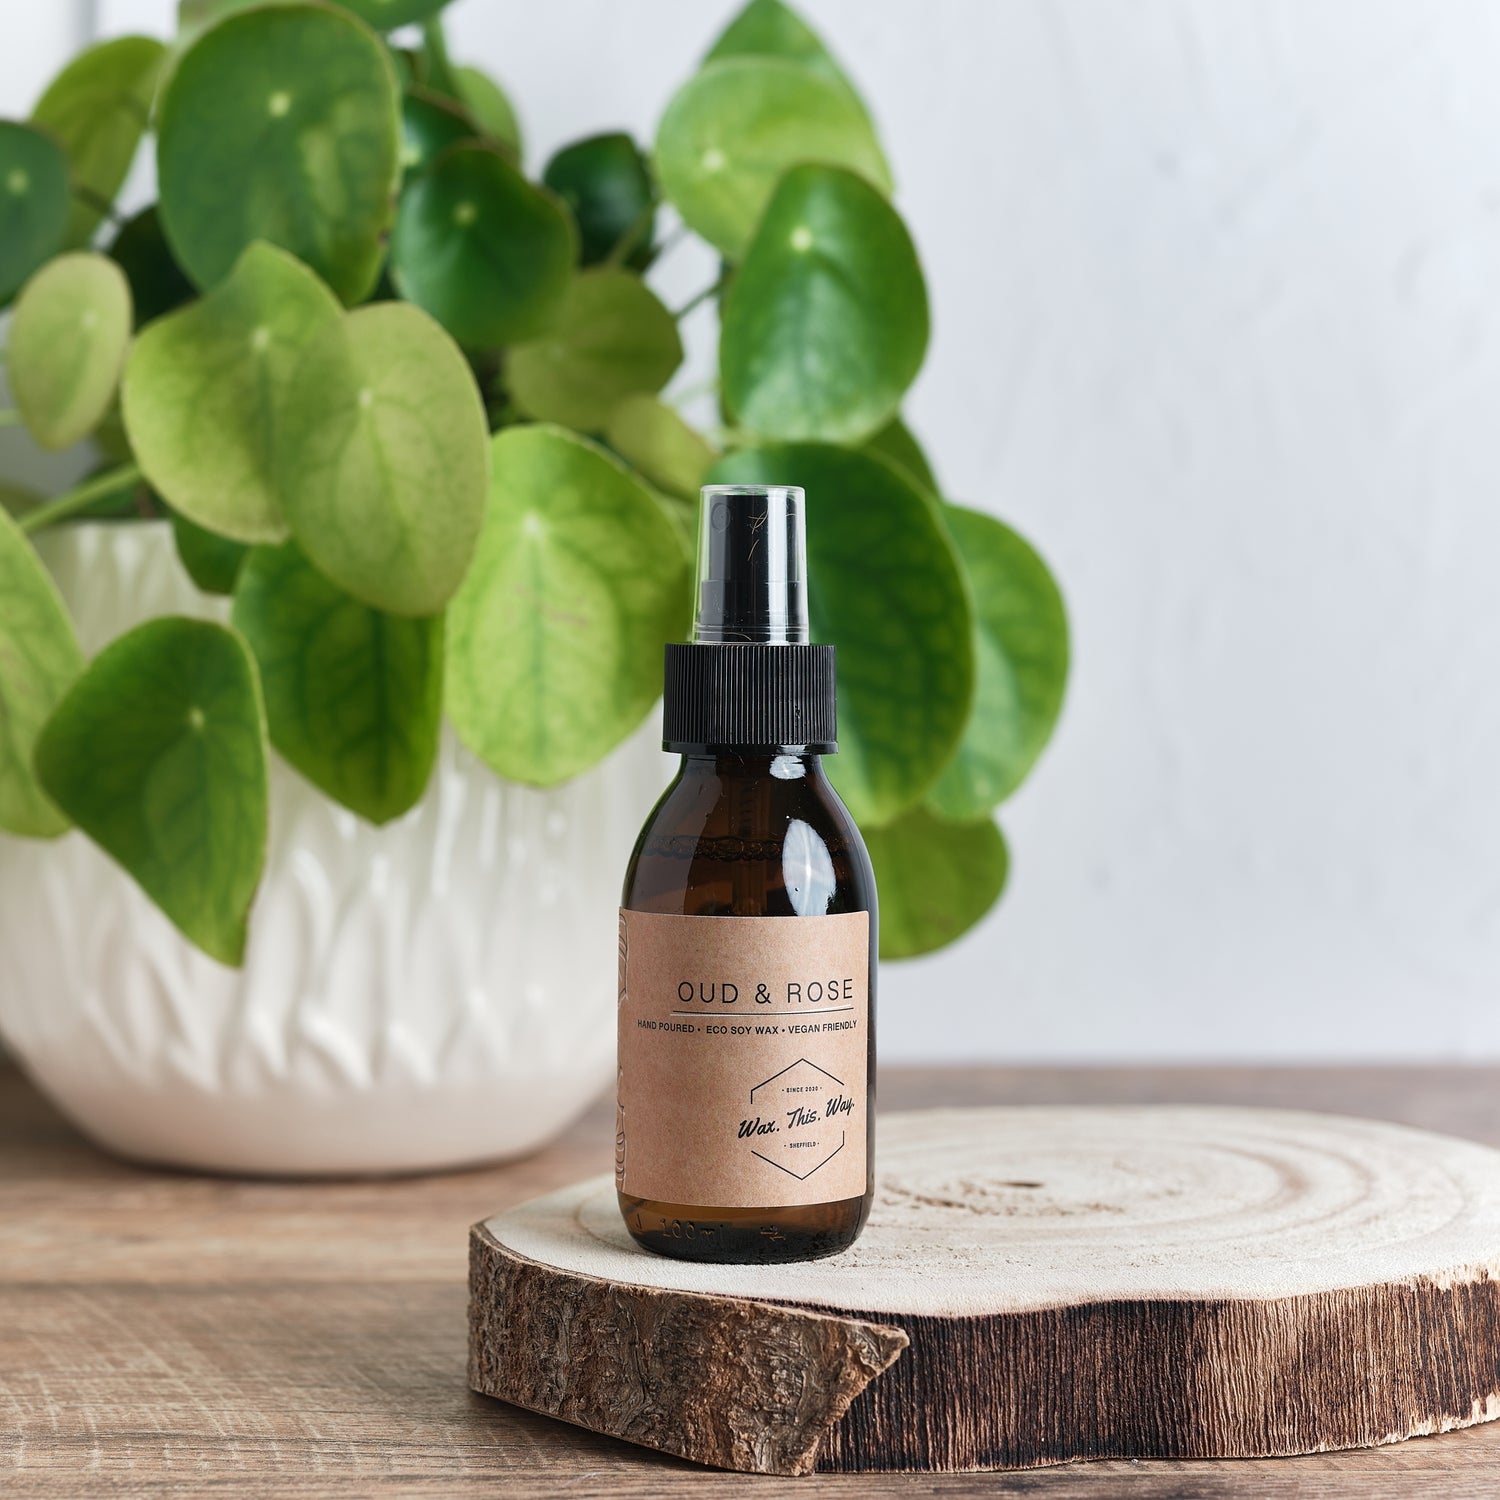
Room Sprays
-
Room sprays are great if you need an instant burst of fragrance - they breathe new energy into any room in seconds.
Due to the amount of fragrance we put into our room sprays, they offer more of a perfume spritz than anything else!
-
Spray onto items from at least 15cm away, avoiding furnishings, heat sources and open flames.
We recommend patch testing on a discreet area before use.
Each bottle contains around 100 sprays, as they are highly scented - a little goes a long way!
-
Room sprays are highly flammable, keep away from heat sources and open flames.
Avoid contact with skin, children and pets.
Spillages may cause damage.